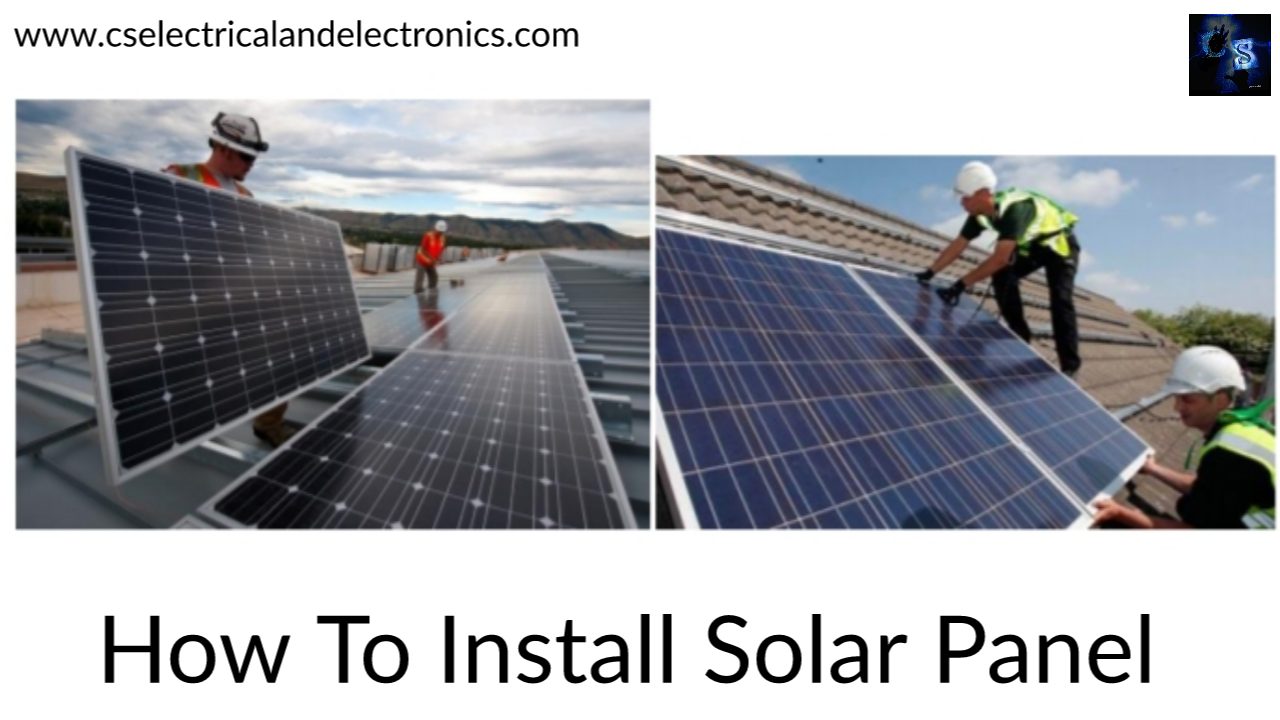
How To Install Solar Panel, Solar Panel Installation Step By Step
Hello guys, welcome back to my blog. In this article, I will discuss how to install solar panel, solar panel installation step by step procedure, components used while installing panel, etc.
If you have any doubts related to electrical, electronics, and computer science, then ask question. You can also catch me @ Instagram – Chetan Shidling.
Also, read:
- Different Types Of Losses In Electrical Machines, AC Motors, DC Motors.
- Difference Between DOL, Auto-Transformer, Star-Delta, And Soft Starters.
- Top 10 Apps For Electrical And Electronics Engineers, Apps For Engineers.
How To Install Solar Panel
Solar is one of the fastest-growing energy sources in the world main advantage of solar power plants is comparing to other renewable plants they generate a bulk amount of power. Hence countries all over the world are competitively constructing solar power plants for a bulk amount of power generation and one of the new technologies used is solar plants on floating water. To capture solar energy photovoltaic cells are used which are popularly known as solar panels. So, proper installation and integrated connections to the power grid are very important. Solar installation is the key skill required to capture solar energy. Let us see the process of solar installation now.
For installation, first of all, we need to know the components used in the solar plants. Plant majorly consists of solar panels, solar inverter with computer control, and a mounting system. Solar panels collect the photons from light and produce DC electricity which is converted into ac with the help of the solar inverter. If we want battery backup then a parallel battery system is used in the solar plant. The most common place to install the solar panels is where the sunlight is more and for domestic purposes, the best place is the roof of the house. The following steps are involved in the solar installation.
01. Scaffolding set up
Scaffolding is the support body with metals that are erected outside the building/house for the protection and support of working men. Scaffolding is erected until the completion of the whole installation process.
02. Set up Solar panel mounts
The mounting system is used for the support of solar panels. The mounting system provides the angle of tilt for the solar panel between 18 degrees and 36 degrees to have sunlight exposure. Mounts used in the installation play a key role by helping solar panels capturing the sunlight by providing tilting.
03. Solar panel Installation
After installing the mounts, the solar panels will be placed in the mounts and make sure that all the bolts and nuts will be fixed tightly which helps panels to stay stable. When the panels are fixed in the mounting system without any loose contacts there will be no interruption for the tilt process of panels.
04. Wiring of solar panels
The installed solar panels will be wired using the MC4 connectors as they are majorly used connectors for the solar wiring. While wiring the domestic panel installation make sure the domestic power supply is OFF. This wiring helps in the transmission of electricity generated in panels.
05. Install Solar Inverter
After the wiring of panels, the solar inverter will be installed. This solar inverter will convert the dc electricity generated by the solar panels into ac electricity. There are two types of solar inverters as Indoor and Outdoor inverters. Generally in solar, outdoor inverters are used and they should be placed in cooler places that maintain room temperature. If indoor inverters are used then they will be placed in the garage or storeroom.
06. Solar battery installation (optional)
If the solar battery is installed it will be bonded to a solar inverter, but the installation is optional. The main advantage of solar battery it will supply the stored electricity to the utility during cloudy situations, but the dis advantage is high maintenance and high initial cost.
07. Connection of Solar inverter to consumer unit
The solar inverter is connected to the consumer unit to utilize the generated electricity. We can monitor the amount of electricity generation from solar panels using our computer or connecting a meter. We can also know the system’s performance, by this we will know the time to use the heavy utilities to improve the system’s efficiency.
08. Testing of Solar panels
After completing all steps above, finally switch on the supply and test the solar panel’s generation. This is the last step of solar installation, After this solar installation is completed.
The process may seem to be very easy but for the installation process certified professional working men are used. The small mistake will lead to heavy damage to the solar plant, that’s why solar installation is considered as the key point in the solar plant. Coming to the maintenance of the solar panels, comparatively, it requires less maintenance. From this, we can conclude that the initial cost is high for the solar plant the running cost is very low. The proper installation will give us professional efficiency.
Also, read – How much money you can make from solar power plant.
I hope this article “How To Install Solar Panel” may help you all a lot. Thank you for reading.
Also, read:
- 10 Tips To Maintain Battery For Long Life, Battery Maintainance
- 10 Tips To Save Electricity Bills, Save Money By Saving Electricity
- 100 (AI) Artificial Intelligence Applications In The Automotive Industry
- 100 + Electrical Engineering Projects For Students, Engineers
- 1000+ Control System Quiz, Top MCQ On Control System
Author Profile
- Content Writer
Latest entries
 All PostsNovember 29, 2021Overhead Line Components, Functions Of Components In Overhead Lines
- All PostsSeptember 26, 2021Types Of Devices Used To Improve Power Factor, Power Factor Correction
- All PostsJune 20, 2021Top 10 Universities For MS In The World, MS Universities In The World
- All PostsJune 20, 2021Top 10 Universities For MTech In The World, MTech Universities In World