Hello guys, welcome back to my blog. In this article, I will discuss what is rain sensor, working, interfacing of rain sensor with Arduino, circuit diagram, applications, and we will also explain the connection.
If you have any doubts related to electrical, electronics, and computer science, then ask question. You can also catch me @ Instagram – Chetan Shidling.
Also, read:
- What Is Multilevel Inverter, Types, Applications Of Multilevel, Drawbacks.
- Top 10 Apps For Electrical And Electronics Engineers, Apps For Engineers.
- Power Electronics Applications In Different Fields, Power Electronics In EV.
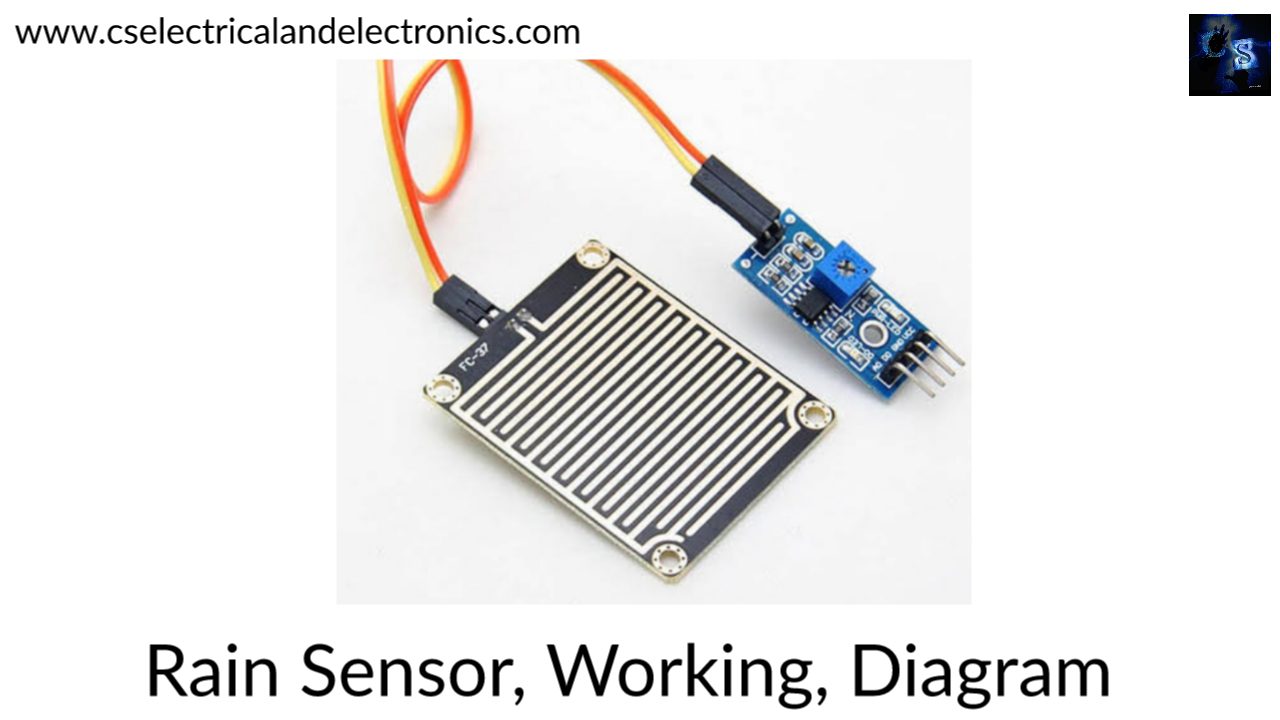
What Is Rain Sensor
The sensor which activates automatically during the rainfall is known as a rain sensor. When the rain falls then the sensor acts as a switching device and the sensor gets activated. The rain sensor is particularly used in irrigation systems. The water conservative device connected to an automatic irrigation system, when rain falls the system gets switched off. It gets automatically controlled according to the amount of rainfall. The weather is unpredictable, suddenly starts raining by changing clouds. It is used to detect the rain and an alarm is generated and the necessary action is taken further.
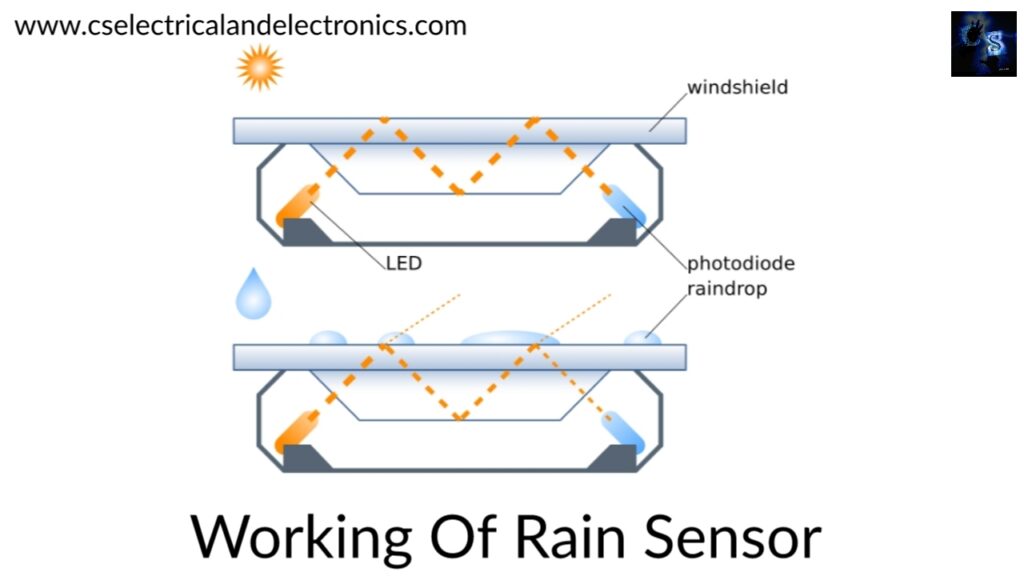
Working of rain sensor
A typical rain sensor has two components
01. Sensing pad: The sensor contains a sensing pad with series of exposed copper traces which is placed in an open area i.e., over the roof or where it can be affected by rainfall. The copper traces are not connected manually.

02. Module: Module is an electronic component that connects the sensing pad to the Arduino. The output voltage which is produced by the Arduino is according to the resistance of the sensing pad and this voltage is available on the output pins of the Arduino which gives an analog output. This signal is fed to the ALM 393 high precision comparator to digitalize and is made available at the digital output pin.
The module has a potentiometer that is in-built to adjust the sensitivity of the digital output. By using this potentiometer, we can set the threshold voltage. When the amount of water exceeds the threshold value the output of the module will be low otherwise high.
The module has two LEDs the power LED and the status LED. The power LED will light up when the module is powered i.e. when the digital output is high and the status LED will light up when the digital output is low. The rain sensor is easy to use and has 4 pins to connect.
- AO-Analog Output pin gives us an analog signal between the supply value 5 volts to 0 volts.
- DO-Digital output pin gives a digital output of the comparator which is internally connected. We can connect it to any digital pin of the Arduino or directly connect to a 5 volts relay.
- GND-Ground connection. Directly connected to the ground point.
- CC-This pin supplies power for the sensor in which the recommended voltage of the sensor lies between 3.3 volts to 5 volts.
The analog output will get varied depending upon the voltage provided for the sensor.
Wiring of Rain sensor with Arduino
The supply power is given to the sensor by connecting the Vcc pin on the module to 5 volts on the Arduino. The main disadvantage of this sensor is short lifespan due to when exposed to moist environment having the power applied to the sensing pad constantly speeds up the rate of corrosion significantly. To overcome this corrosion, do not power the sensor constantly. Hence an easy way to accomplish this problem is to connect the Vcc pin to the arduino and now set the value to either low or high as per our requirement.
The total power drawn by the module is about 8 million amperes. This power is enough to power the module to off a digital pin on the Arduino. So, connect the Vcc pin on the module to the digital pin 7 of an Arduino and GND to the ground. Now connect the dew pin on the module to the digital pin number 8 on the Arduino. Calibration of the sensor is done to get accurate readings. By changing the knob of the potentiometer, the threshold value will be set. Hence when the amount of water exceeds the limit of the threshold value, the status LED will light up and the digital output is low.
Applications of rain sensor
- Irrigation
- Automotives
- Satellite communications
I hope this article may help you all a lot. Thank you for reading.
Also, read:
- 10 Free ADAS Projects With Source Code And Documentation – Learn & Build Today
- 10 Tips To Maintain Battery For Long Life, Battery Maintainance
- 10 Tips To Save Electricity Bills, Save Money By Saving Electricity
- 100 (AI) Artificial Intelligence Applications In The Automotive Industry
- 100 + Electrical Engineering Projects For Students, Engineers
- 100+ Indian Startups & What They Are Building
- 1000+ Automotive Interview Questions With Answers
- 1000+ Electronics Projects For Engineers, Diploma, MTech Students


Nice answer
back in return of this query with solid arguments and telling all about that.